I quite often hear people say that they just don’t have time to practise yoga at home or they’re not sure what specifically to practise. Considering that most yoga practices are an hour long, this is understandable, so I’ve put together the following 10 minute yoga sequence you can do at home. It’s based on the first asanas of the Sivananda yoga sequence after the sun salutations, so it’s great for flexibility, core strength and feeling rejuvenated. It’s not a practice to tire you out, so you could practise it on your lunch break or whenever you’ve got a spare 10 minutes.
If you’ve never tried these asanas before, you are advised to learn them directly from a teacher first. And remember, never to push yourself with yoga. All asanas should feel stable and comfortable. You can practice this sequence after a series of sun salutations.
1. Double leg raises
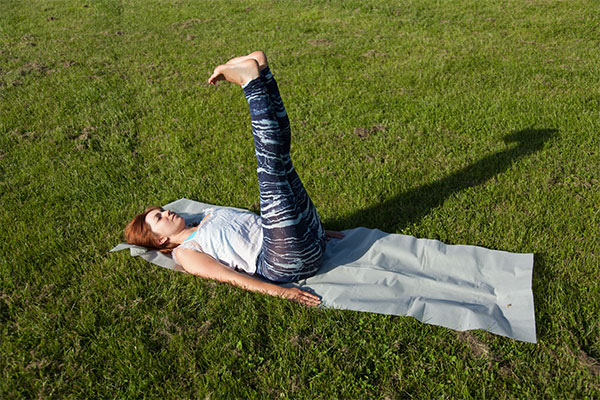
How to practice double leg raises
Lie flat on your back with your palms facing down either side of your body. If you have lower back pain, place your hands underneath your lower back with your palms facing down. Flex your toes towards your head and on the inhale, lift both of your legs to the ceiling or sky. On the exhale, lower your legs to a few centimetres off the floor. Repeat this process 10 times. Don’t forget to keep breathing.
Benefits of double leg raises
- Great warm up core strengthening exercise
- Prepares you for the next asanas (particularly the headstand and shoulderstand)
- Strengthens the abdominal muscles
Time
1 minute
2. Child’s pose (Balasana)
How to do child’s pose
kneel down with your big toes touching, open your knees and place your forehead on the floor with your palms facing up behind you. Breathe and relax.
Benefits of child’s pose
- Gently stretches the hips, thighs, and ankles,
- Calms your brain and helps relieve stress and fatigue
- Relieves back, neck and hip pain when done with head and torso supported
- One of the most restorative yoga asanas
- Creates a sense of emotional relief
Time
Spend as long as you need in child’s pose. For this 10 minute sequence, however, I recommend about 30 seconds.
3. Dolphin exercises or headstand (Sirsasana)
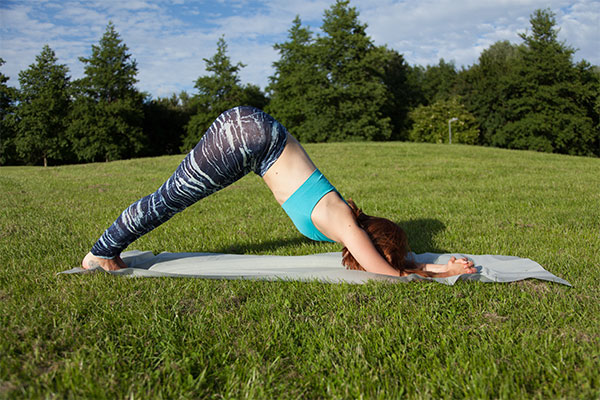
How to do the dolphin exercise
Sit down in a kneeling position, measure shoulder width distance with your arms and interlock your hands in front of you. You can also do this exercise with your palms flat on the floor. Next, inhale and push up into the position I am in (see first photo). On the exhale, lower yourself down into a plank position (see second photo). This process can be repeated 10 times. Afterwards, relax for a few breaths in child’s pose.
Benefits of the dolphin exercise
- Prepares your body for the headstand
- Strengthens your core muscles
- Improves muscle tone
- Improves arm balance
Time
1 minute including some time to relax in child’s pose at the end
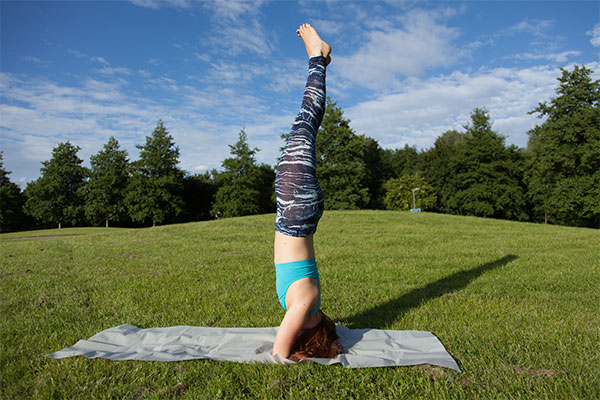
How to do the supported headstand
Sit down in a kneeling position, measure shoulder width distance with your arms and interlock your hands in front of you. Place your head in front of your interlocked hands so they can act as a support. Next, inhale, flex your feet and push your hips up. Walk your feet as far as you can towards your head. Next, bend one leg up, followed by the other leg. When your core is strong enough, your legs will glide effortlessly up. Do not kick or force your legs. With practise, it will come. You can now start to straighten your legs up towards the sky or ceiling and hold the position.
If you’re practising the headstand, there’s no need to do the dolphin exercises unless you want an extra workout.
Benefits of the supported headstand
- Calms your brain and helps relieve stress and mild depression
- Stimulates the pituitary and pineal glands
- Strengthens the arms, legs, and spine
- Tones the abdominal organs
- Improves digestion
- Helps relieve the symptoms of menopause
- Therapeutic for asthma, infertility, insomnia, and sinusitis
- I also practise headstands to get rid of my headaches
Time
30 seconds – 1 minute
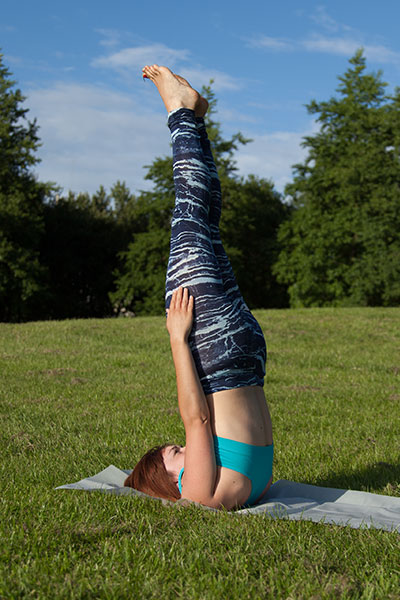
4. Shoulderstand (Sarvangasana)
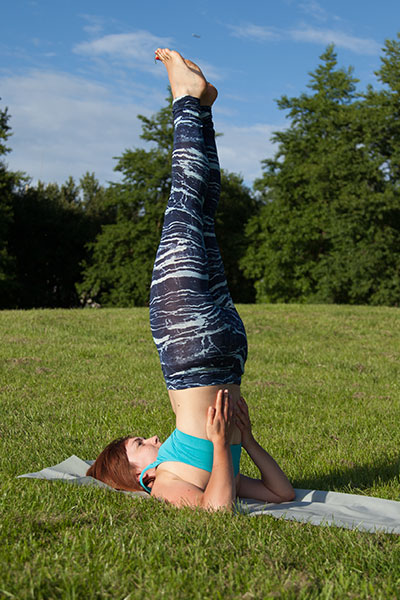
How to do the shoulderstand
Lie flat on your back with your feet flexed towards your face and your palms facing down beside you. Lift your legs and your hips and support your lower back with the palms of your hand. Next walk your hands up your back towards your head, bringing your legs further towards the sky or ceiling.
If you feel steady in the shoulderstand, you might want to practise the candle asana (see second photo). To do this, start by lifting one arm to the side of your leg, followed by the other arm. For the ultimate balance, close your eyes.
Benefits of the shoulderstand
- Creates happiness and health in the body
- Increases the circulation around the lymphatic system.
- Lengthens the spinal nerves, which relieves tension in the head, neck and shoulders.
- Soothes the nervous system
- Great for high blood pressure, stress, anxiety and releasing tension
- Good for insomnia
- Increases metabolism
Benefits of shoulder stand taken from Elephant Journal
Time
30 seconds to 1 minute
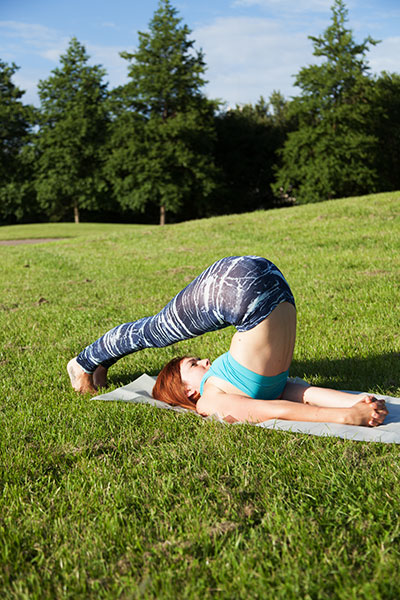
5. Plough (Halasana)
How to do the plough
Whilst in the shoulderstand, lower both legs down behind you. If your feet touch the floor, release your hands from your back and interlock them away from your body. For a deeper stretch, you might like to bend both legs either side of your face.
Benefits of the plough
- Calms your brain
- Stimulates the abdominal organs and the thyroid gland
- Stretches your shoulders and spine
- Helps relieve the symptoms of menopause
- Reduces stress and fatigue
- Therapeutic for backache, headache, infertility, insomnia, sinusitis
Time
30 seconds to 1 minute
6. Bridge (Setu Bandha Sarvangasana)
How to do the bridge
You can come into the bridge position from the shoulder stand or lie on your back and lift your hips. Take hold of both of your ankles and continue to breathe.
Benefits of the bridge
- Stretches the chest, neck, and spine
- Calms your brain and helps alleviate stress and mild depression
- Stimulates abdominal organs, lungs, and thyroid
- Improves digestion
- Helps relieve the symptoms of menopause
- Relieves menstrual discomfort
- Reduces anxiety, fatigue, backache, headache, and insomnia
Benefits taken from Yoga Journal
Time
30 seconds
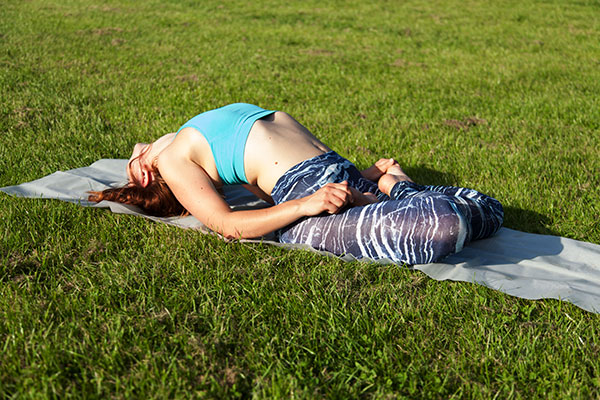
7. Fish (Matsyasana)
How to do the fish pose
Lie flat on your back and place your hands underneath your body with your palms facing down. On your next inhale, lift your head and chest and on the exhale release the top of your head to the ground behind you. The weight should be on your forearms in this posture (if you’re doing the first position).
For a more advanced variation, place both legs in the lotus position and hold the big toes with your hands.
Benefits of the fish pose
- Fish pose is supposedly the ‘destroyer of all diseases’
- Stretches and stimulates the muscles of the stomach and front of the neck
- Strengthens the muscles of the upper back and back of the neck
- Improves posture
Time
30 seconds
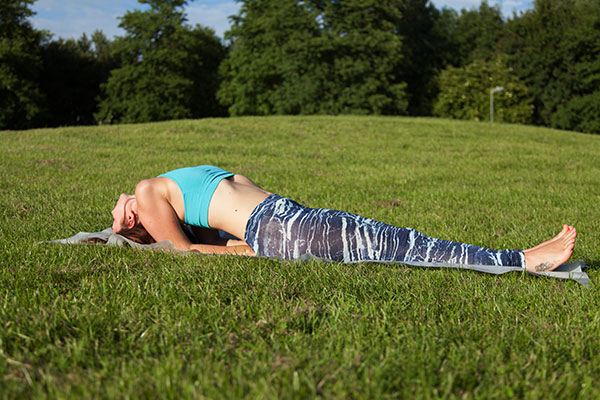
8. Seated forward bend (Paschimottanasana)
How to do the seated forward bend
Stretch your legs out in front of you, flex your feet towards your body, stretch your arms hight above your head, and on the exhale lower your body down with a straight back. Keep your legs straight and don’t worry about how far you can reach. You can choose your hand position here — holding your bog toes, holding your legs, placing your palms flat on the floor beside your legs or binding.
Benefits of the seated forward bend
- Calms your brain
- Helps relieve stress and mild depression
- Stretches the spine, shoulders, hamstrings
- Stimulates the liver, kidneys, ovaries, and uterus
- Improves digestion
- Helps relieve the symptoms of menopause and menstrual discomfort
- Soothes headache and anxiety and reduces fatigue
- Good for high blood pressure, infertility, insomnia, and sinusitis
Time
1 minute
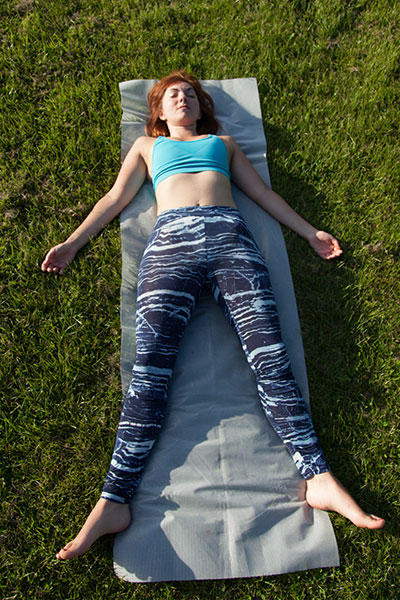
9. Corpse pose (Savasana)
How to practise corpse pose
Lie flat on your back with your feet and arms apart and your palms facing upwards; tilt your head slightly forwards so you’re resting on the back of your head, not the top.
Before you settle, you might like to tense and relax different parts of your body such as pushing your lower back into the floor, tensing your legs and relaxing them, hunching your shoulders up towards your face and lowering them back down…
Benefits of corpse pose
- Calms your brain and helps relieve stress and mild depression
- Relaxes your body after the physical asana practice
- Reduces headache, fatigue, and insomnia
- Helps to lower blood pressure
Time
For the 10 minute yoga sequence, a few minutes is sufficient. It’s important not to miss Savasana out — always put aside the time for this asana!
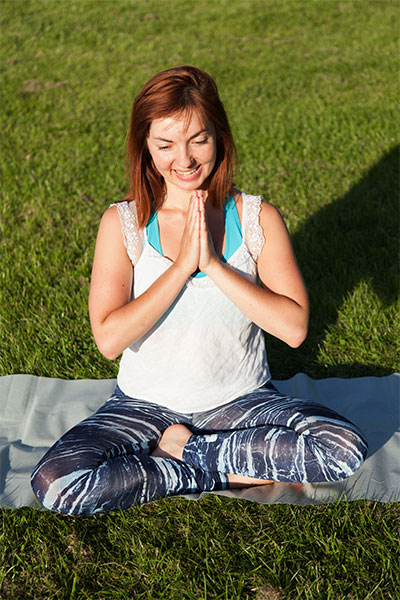
10. Namaste
Thank yourself for your yoga practice and enjoy the rest of your day. I hope you find this 10 minute yoga sequence useful.
I’m currently doing a yoga teacher training course with YMCA Fit and Yoga Professionals. However, this sequence was inspired by Sivananda Yoga.
Thank you to the following websites for the yoga health benefits for each of the asanas listed in this 10 minute yoga sequence: Yoga Journal, Elephant Journal and Yoga Wiz.
Photography by Dominic Eve


